
Go to Adobe’s website to download their PDF reader from this link https://get.adobe.com/reader/
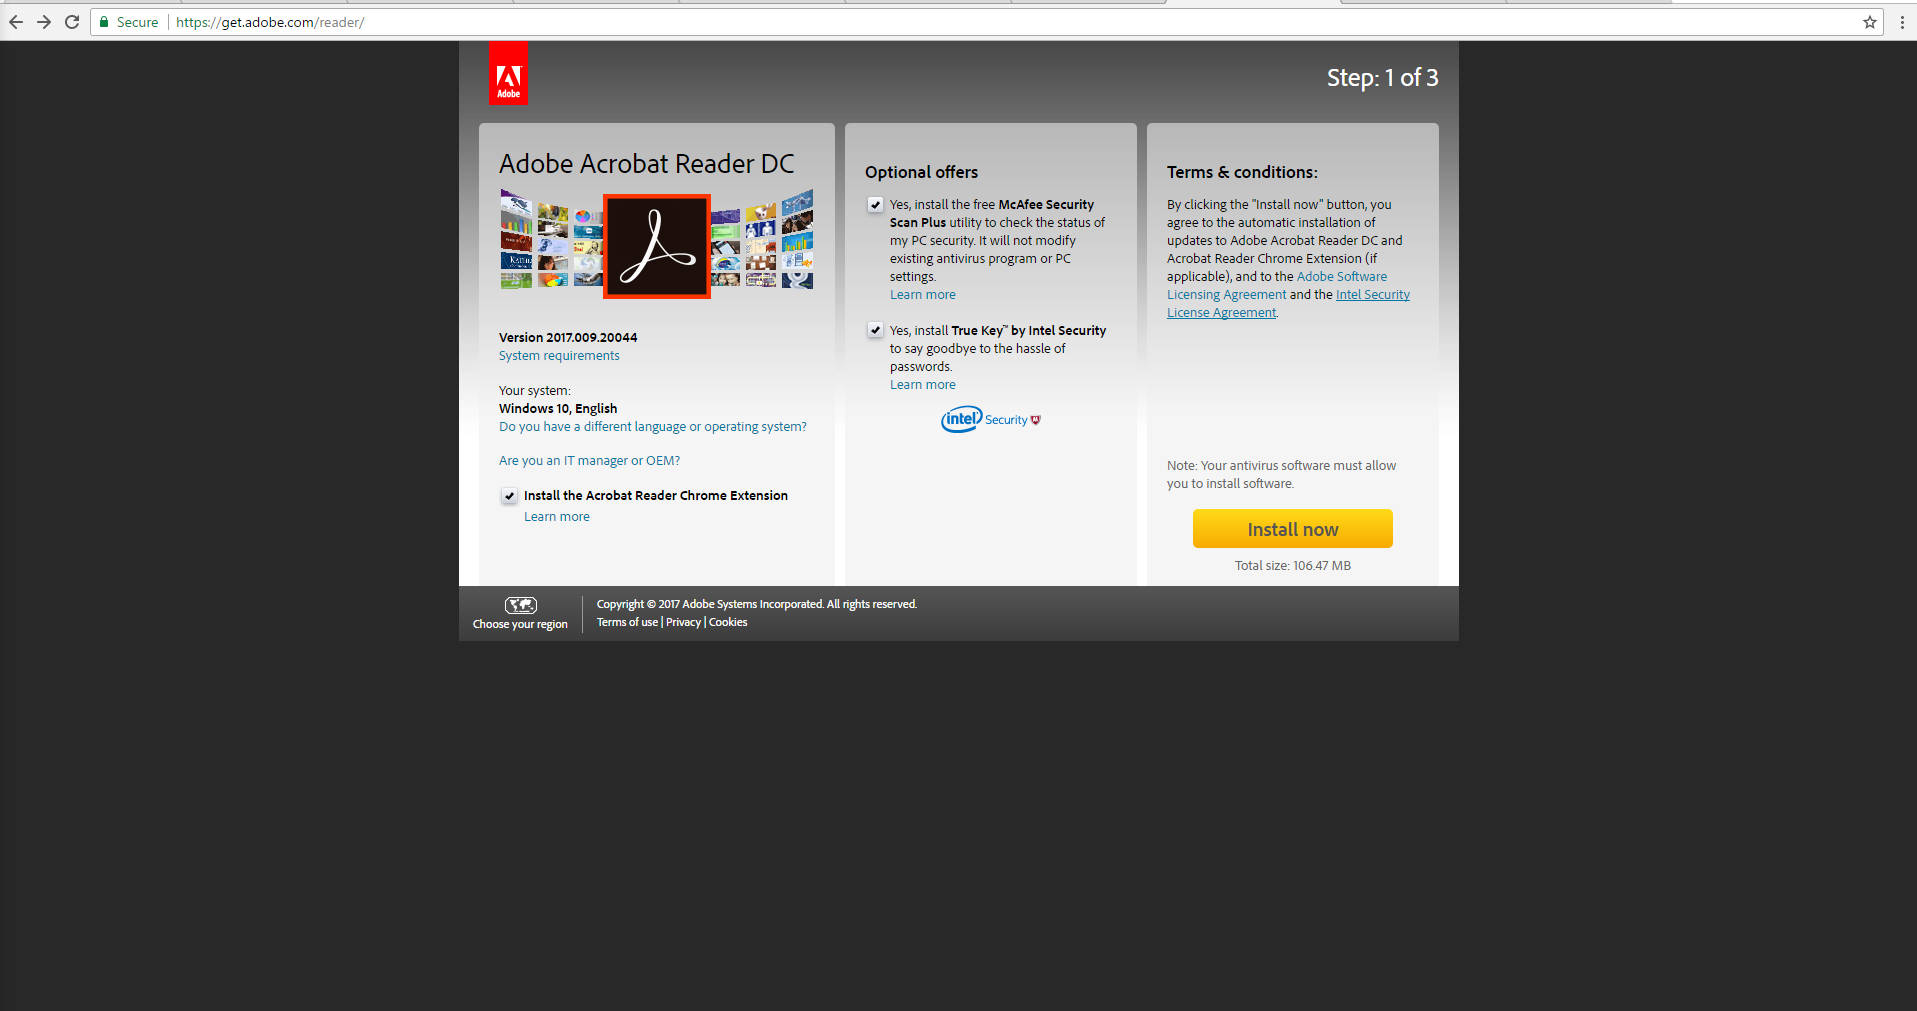
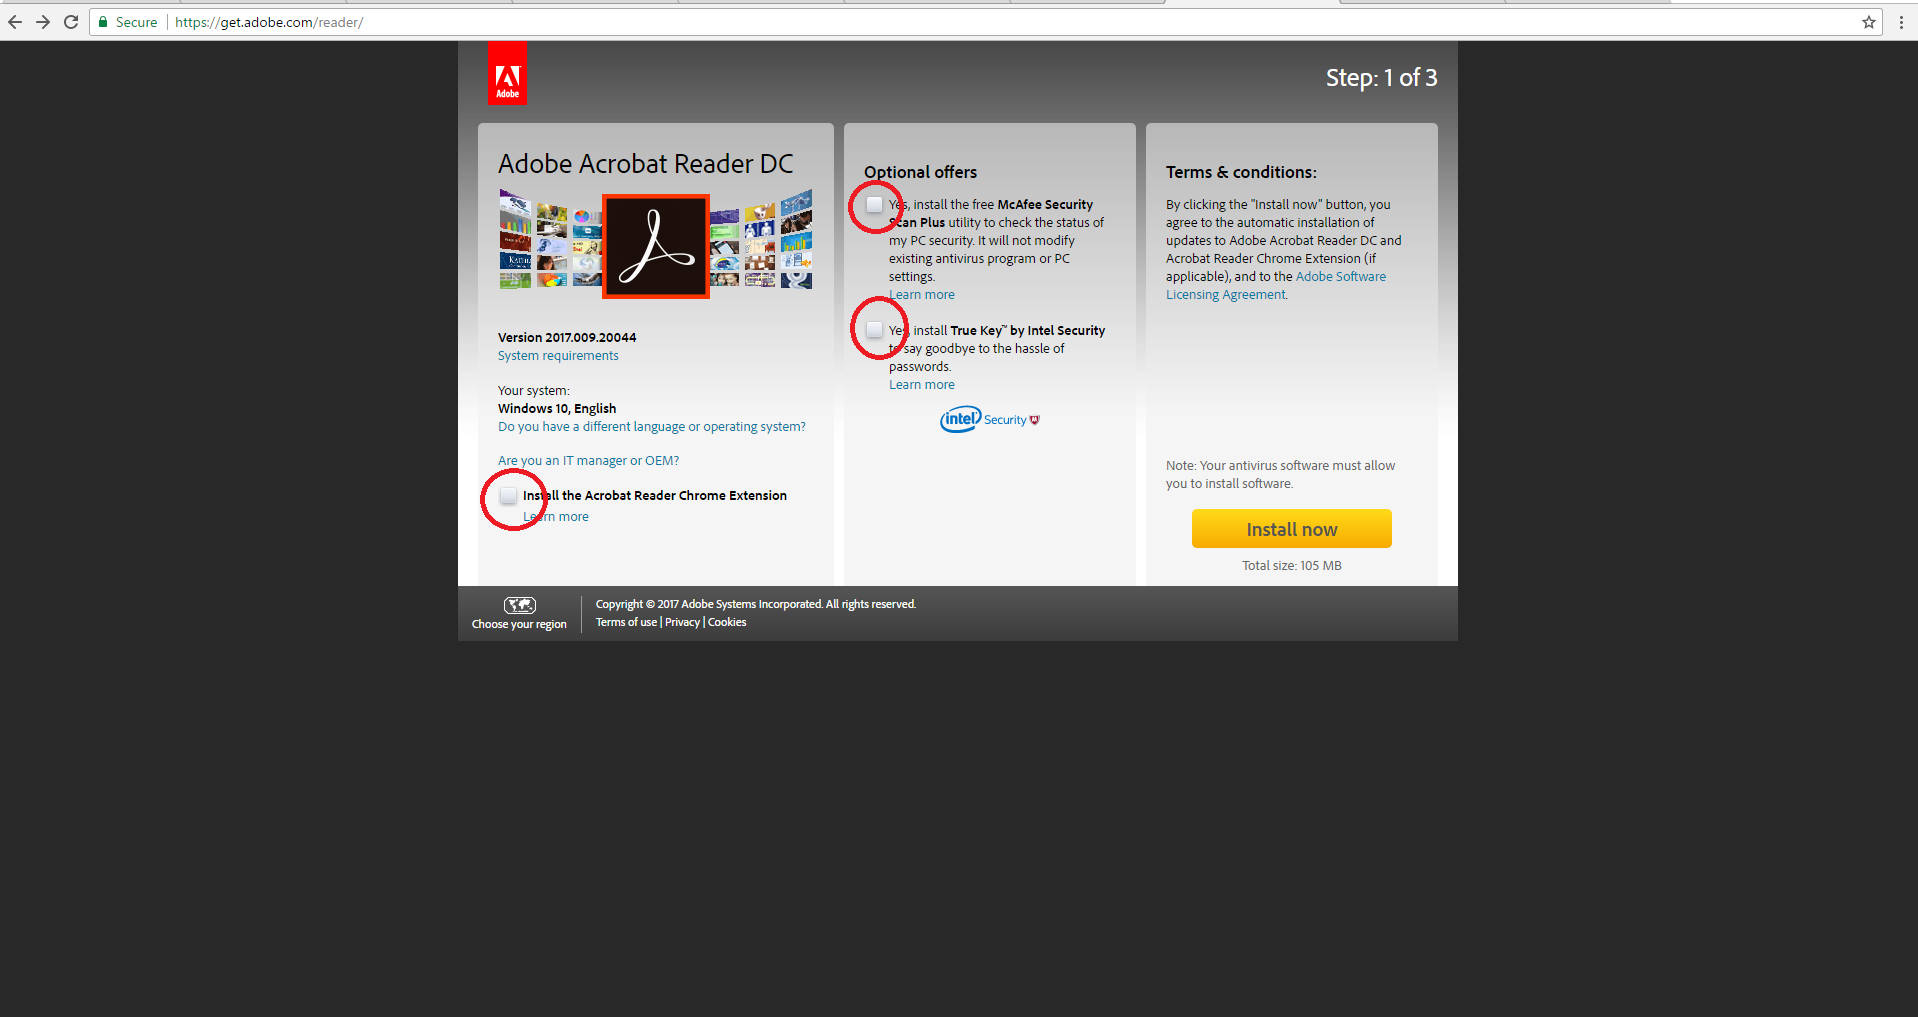
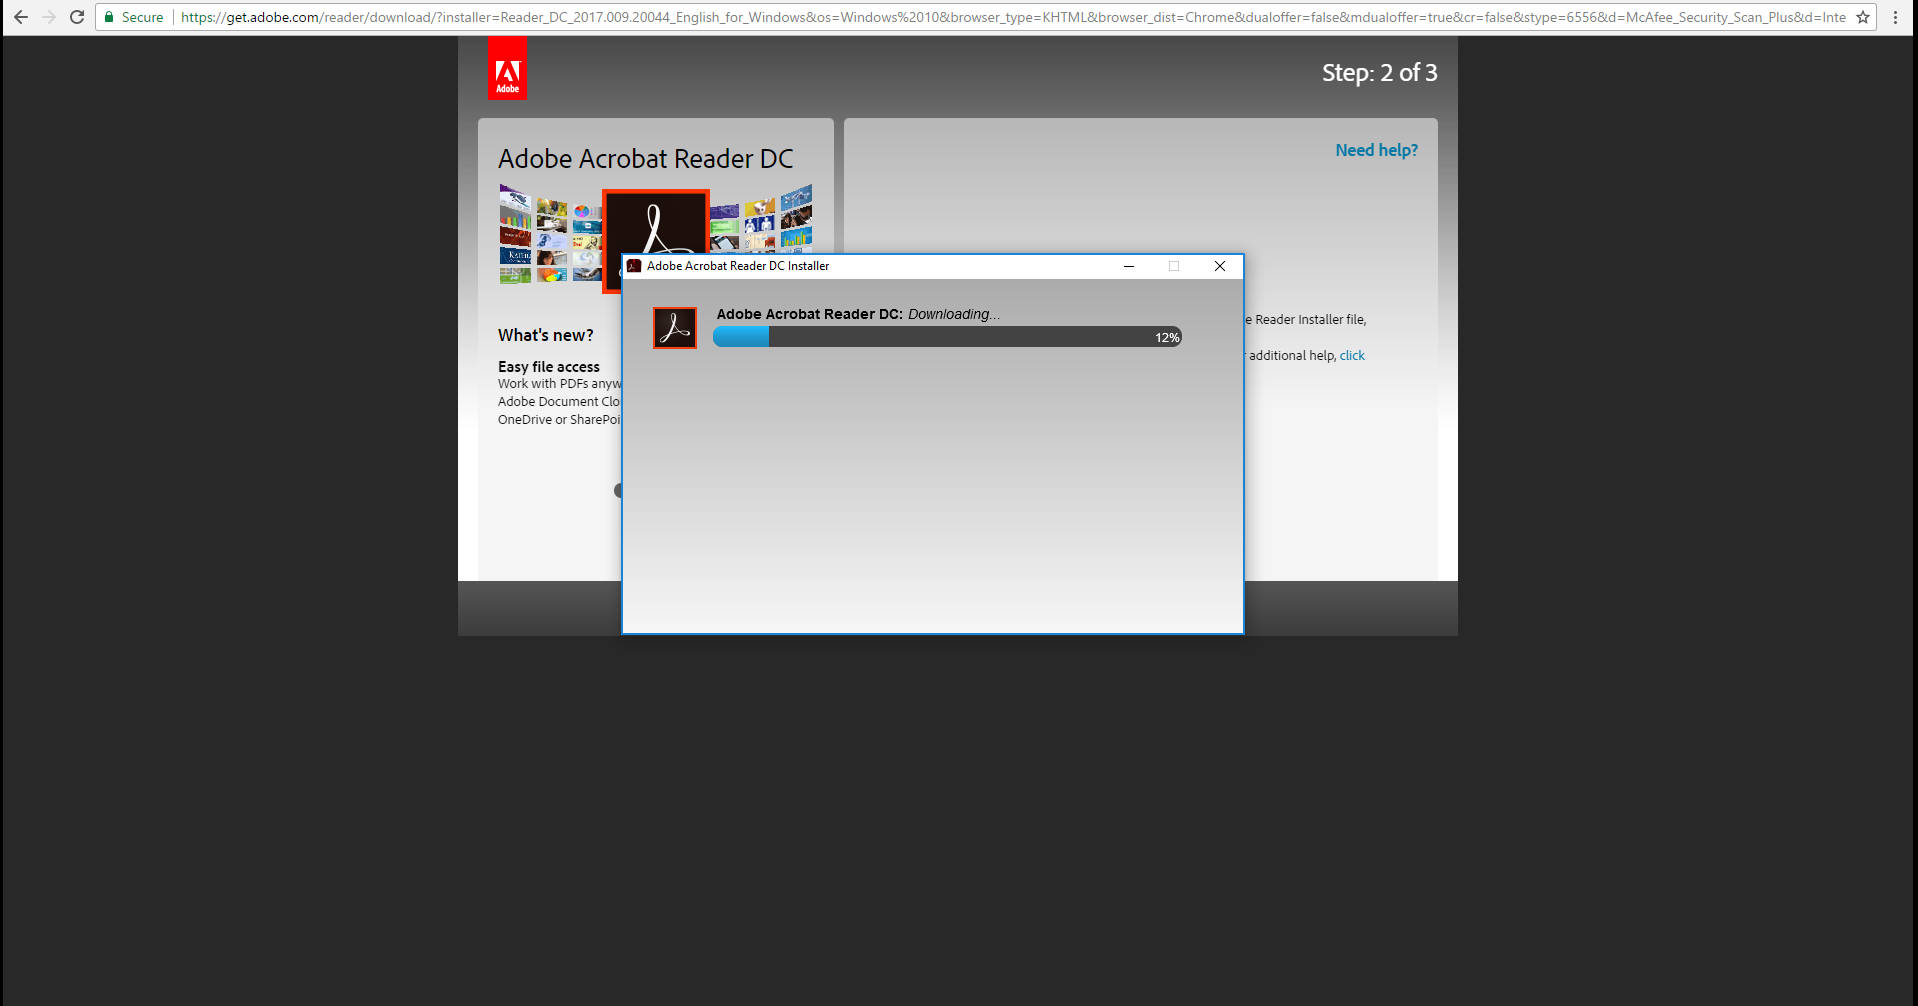
Once you are ready, click “Install now”. Once selected, you will see this:
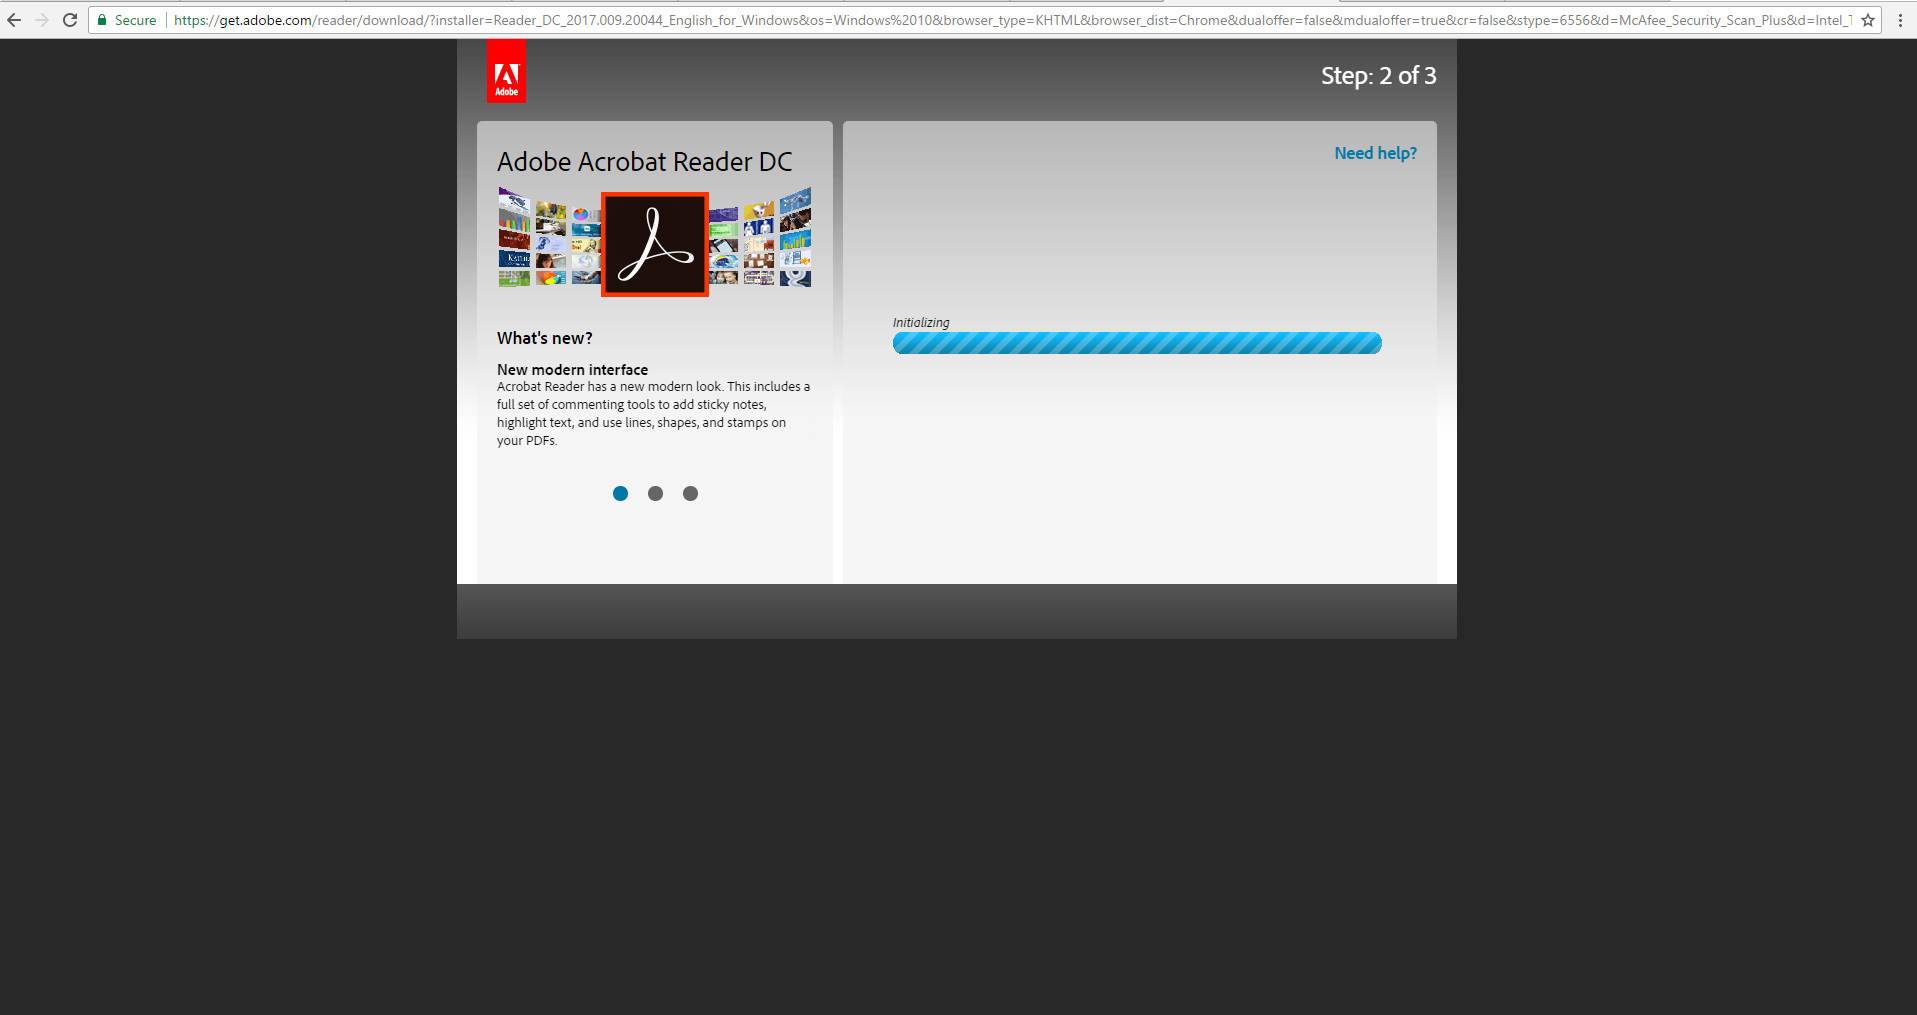
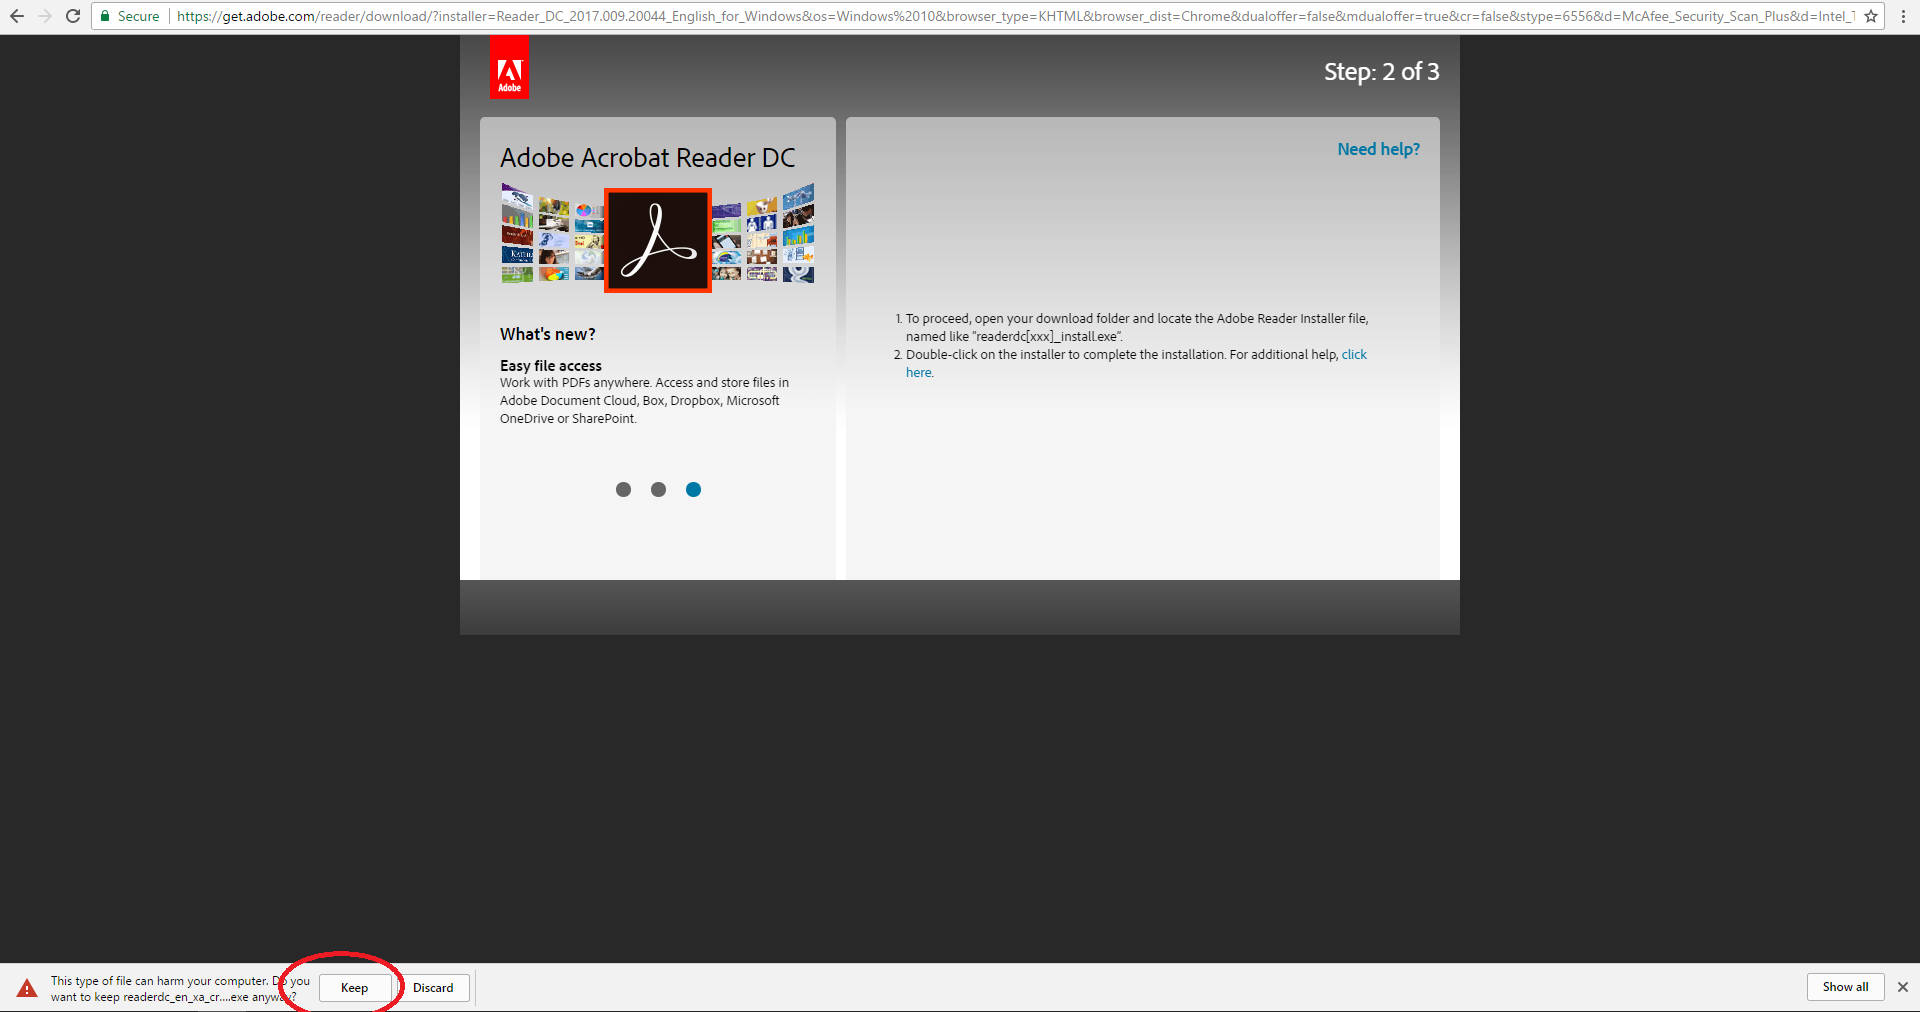
After Adobe is finished Initializing, your browser will ask you whether you would like to keep the downloaded software. Select “Keep”.
After Acrobat is downloaded, click it and open it. After Acrobat is opened, your computer will ask you “Do you want to allow this application to make changes to you device?” Select “Yes”.
Adobe will begin to download and install Acrobat Reader. Once it is finished, click “Finish” and open Adobe Acrobat.
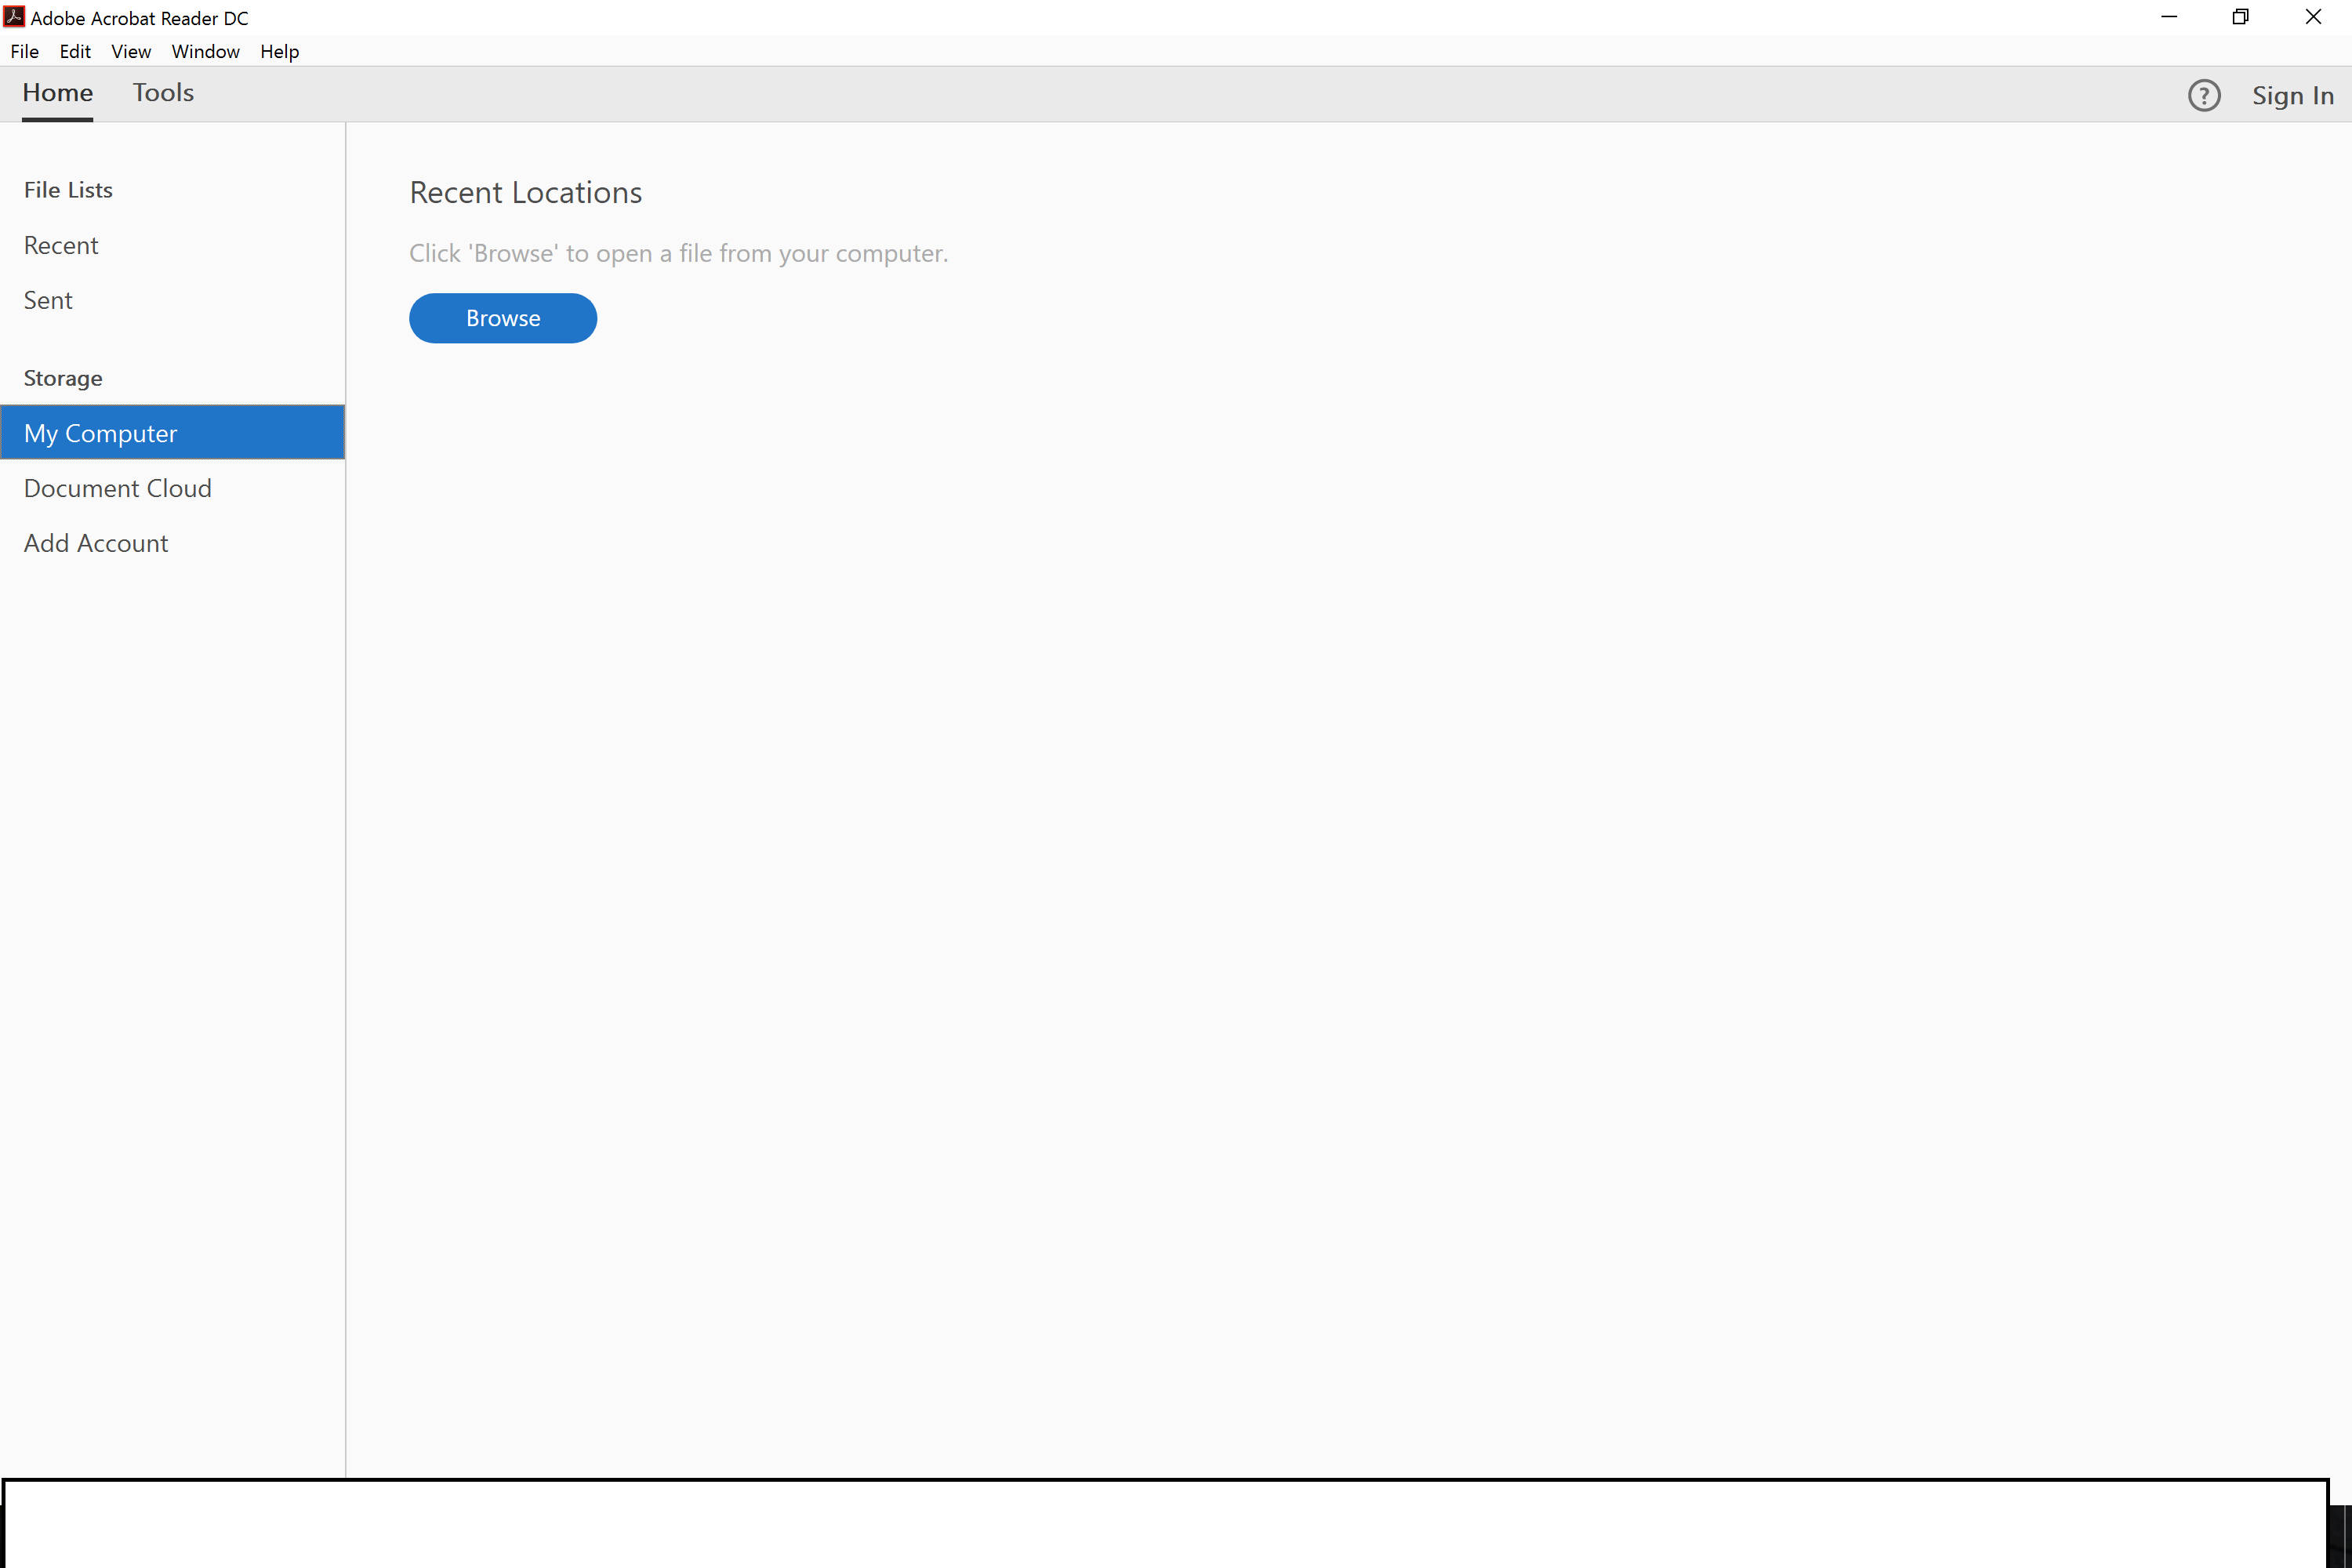
Once you have Acrobat open, it should look like this:
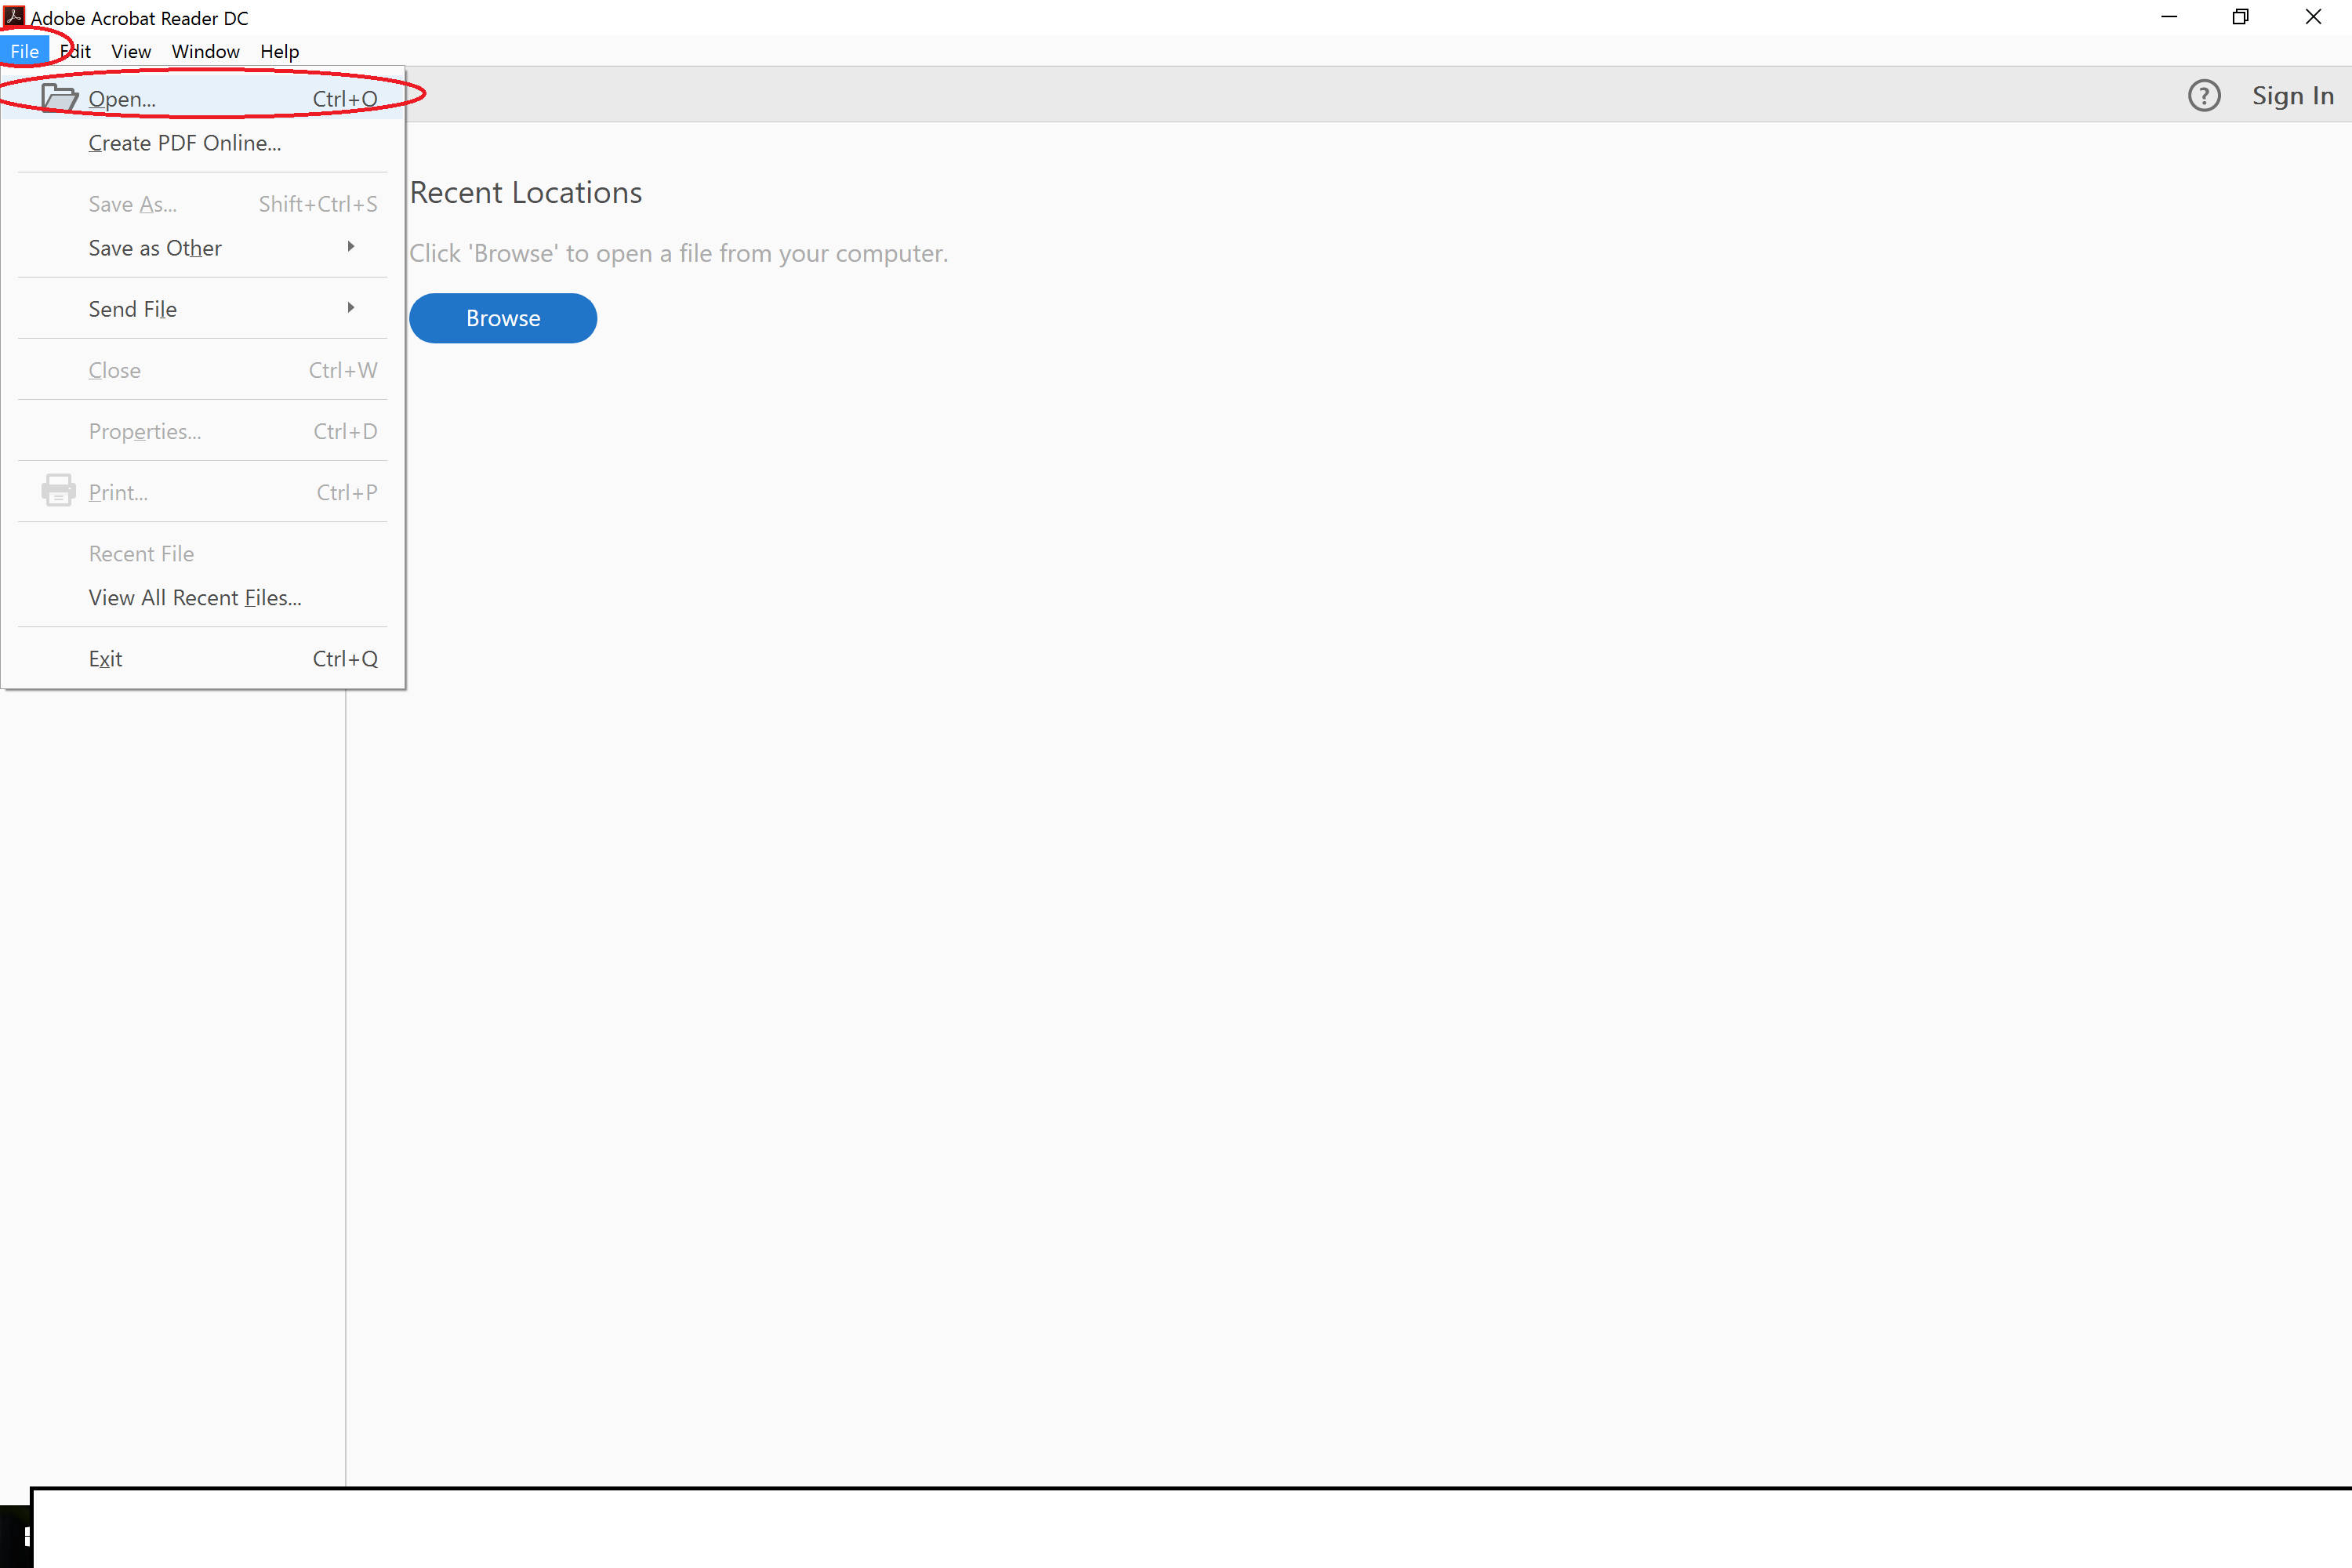
On the top left of Acrobat, select “File” and then “Open…”. From there, browse and locate the documents you would like to electronically sign, then open your document(s).
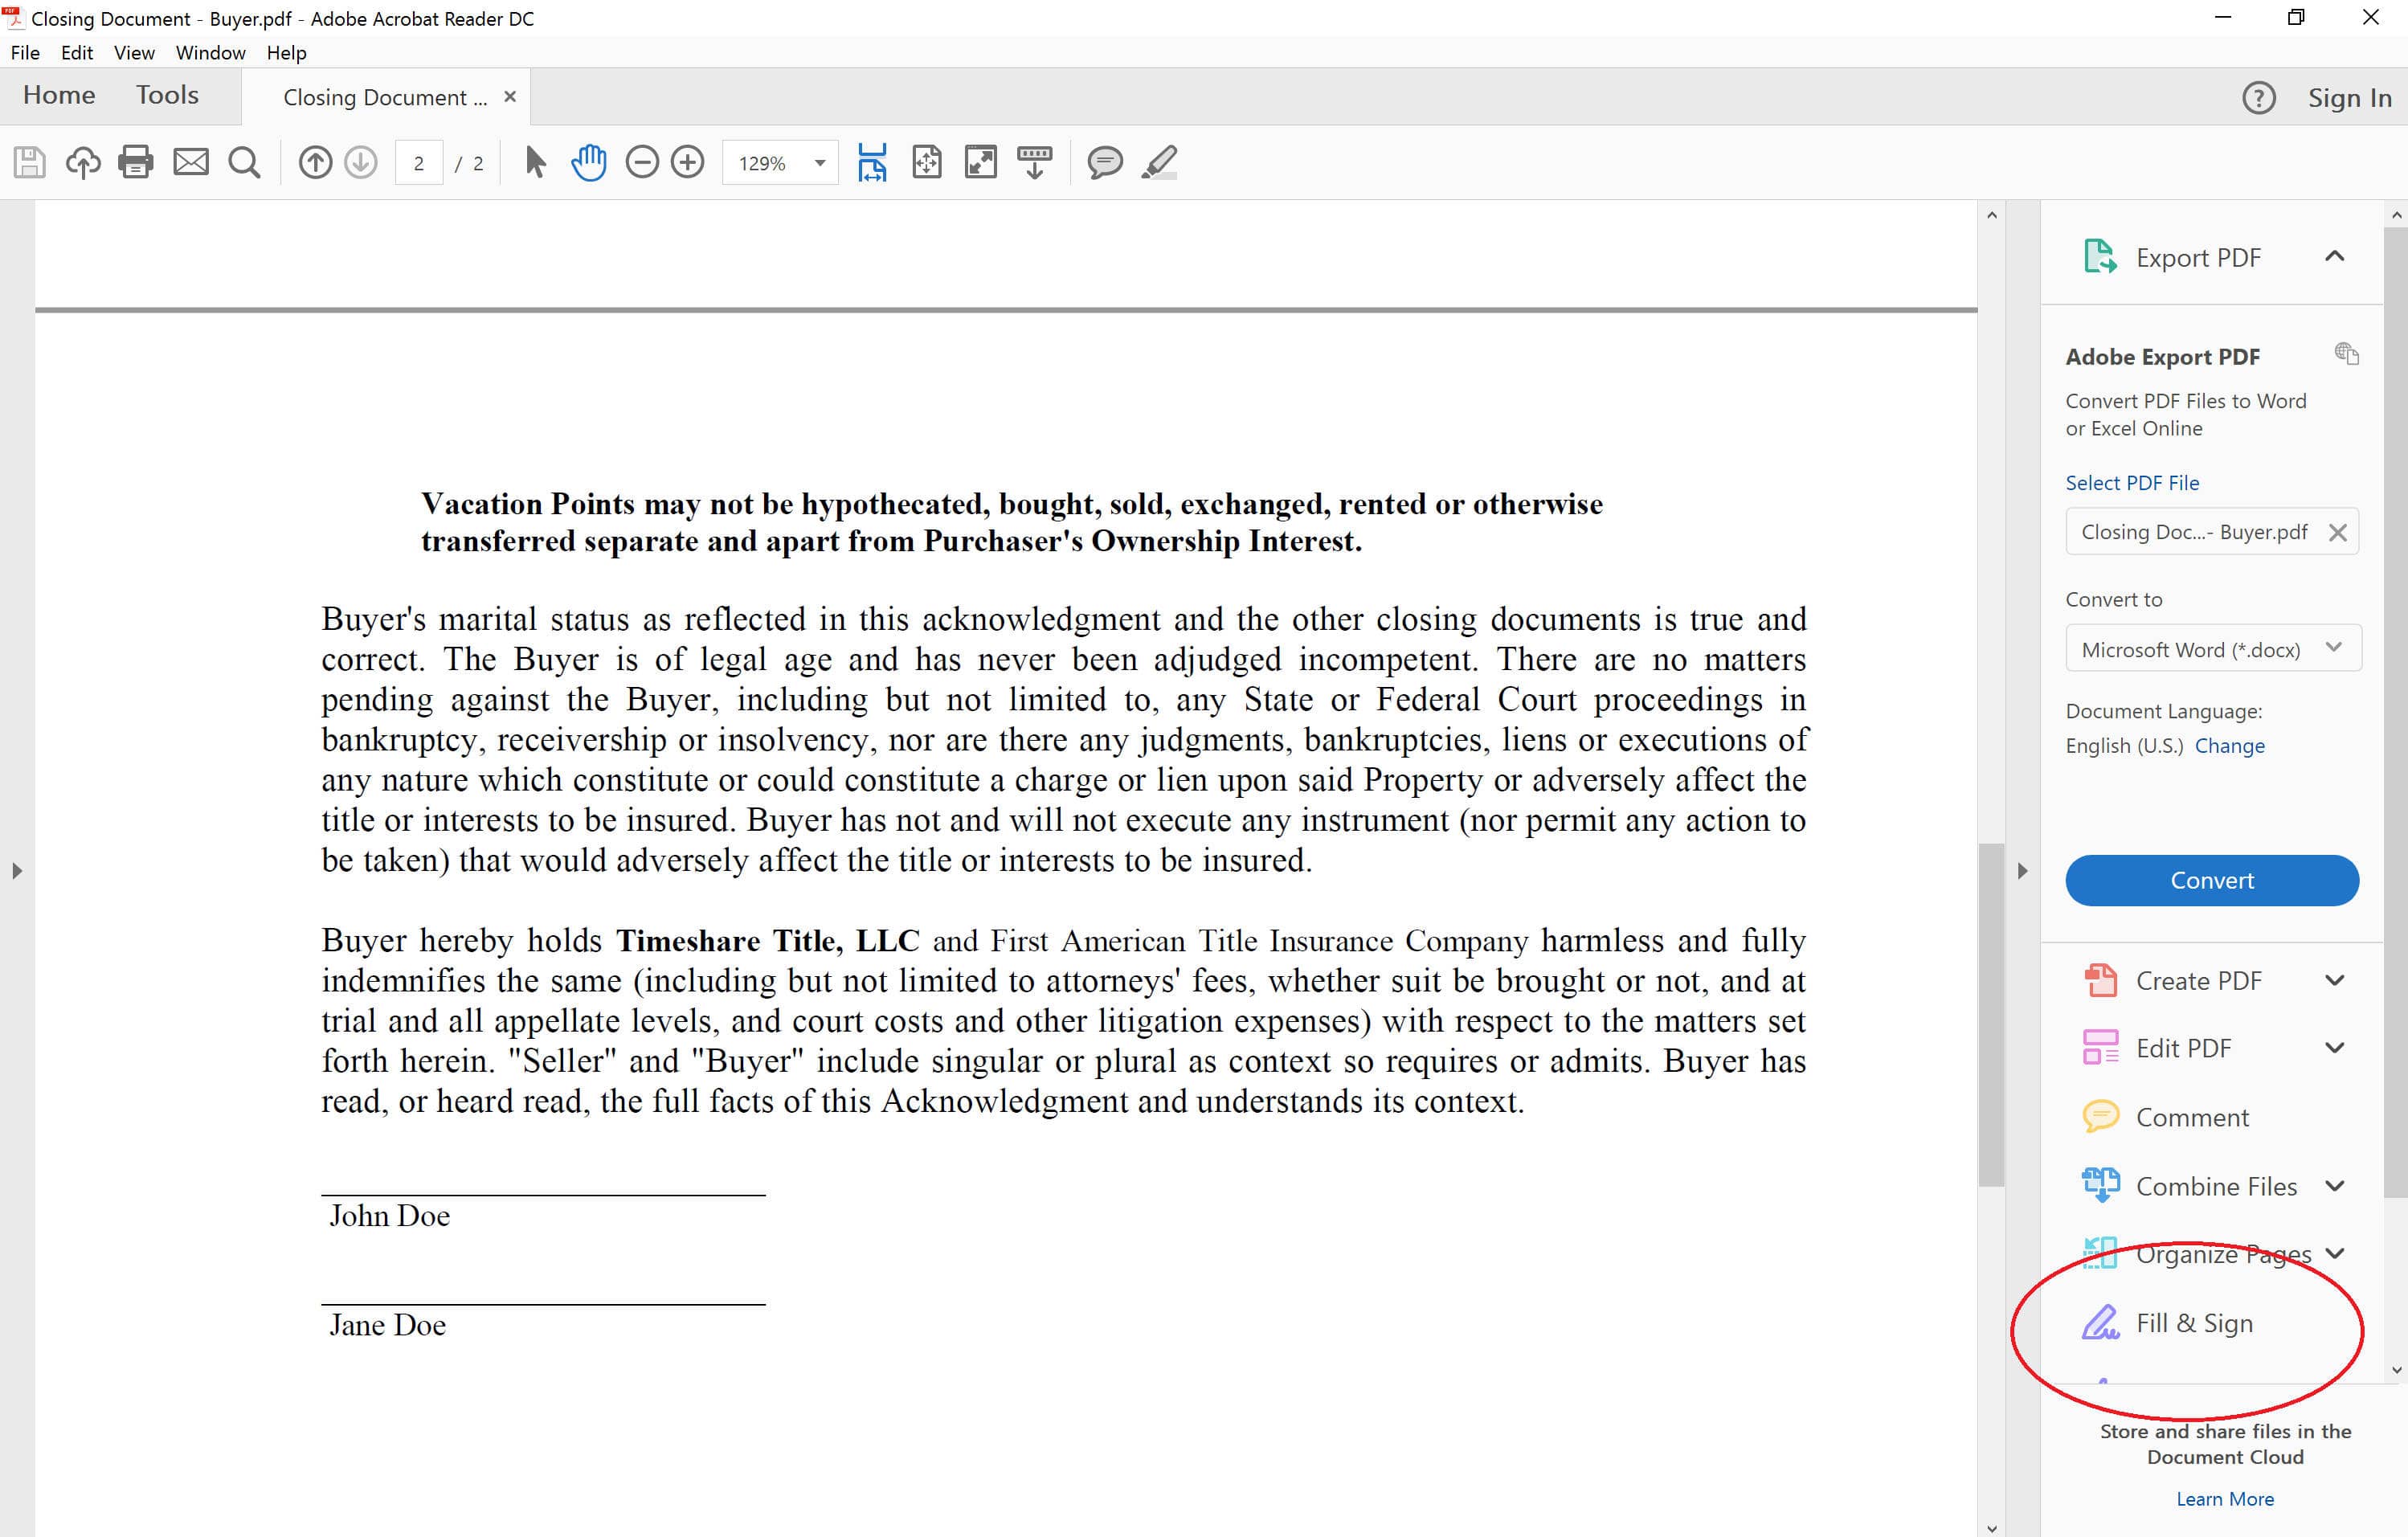
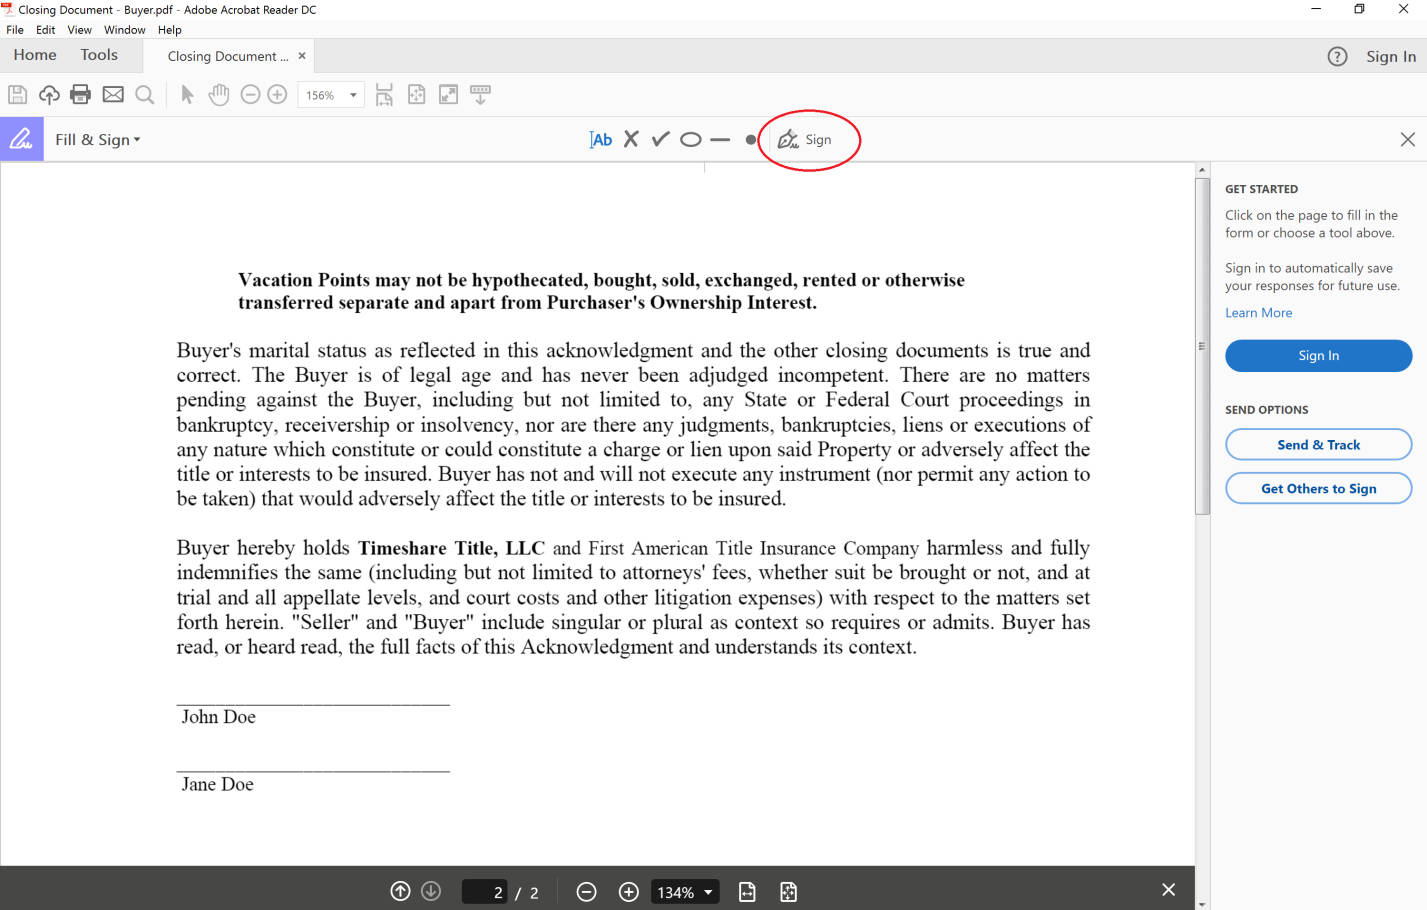
Once your document is opened, on the right hand side of Acrobat, find and click the “Fill & Sign” tool.
Click the “Sign” button located on the top, center, of Acrobat. A drop down window should appear and in it select “Add Signature”.

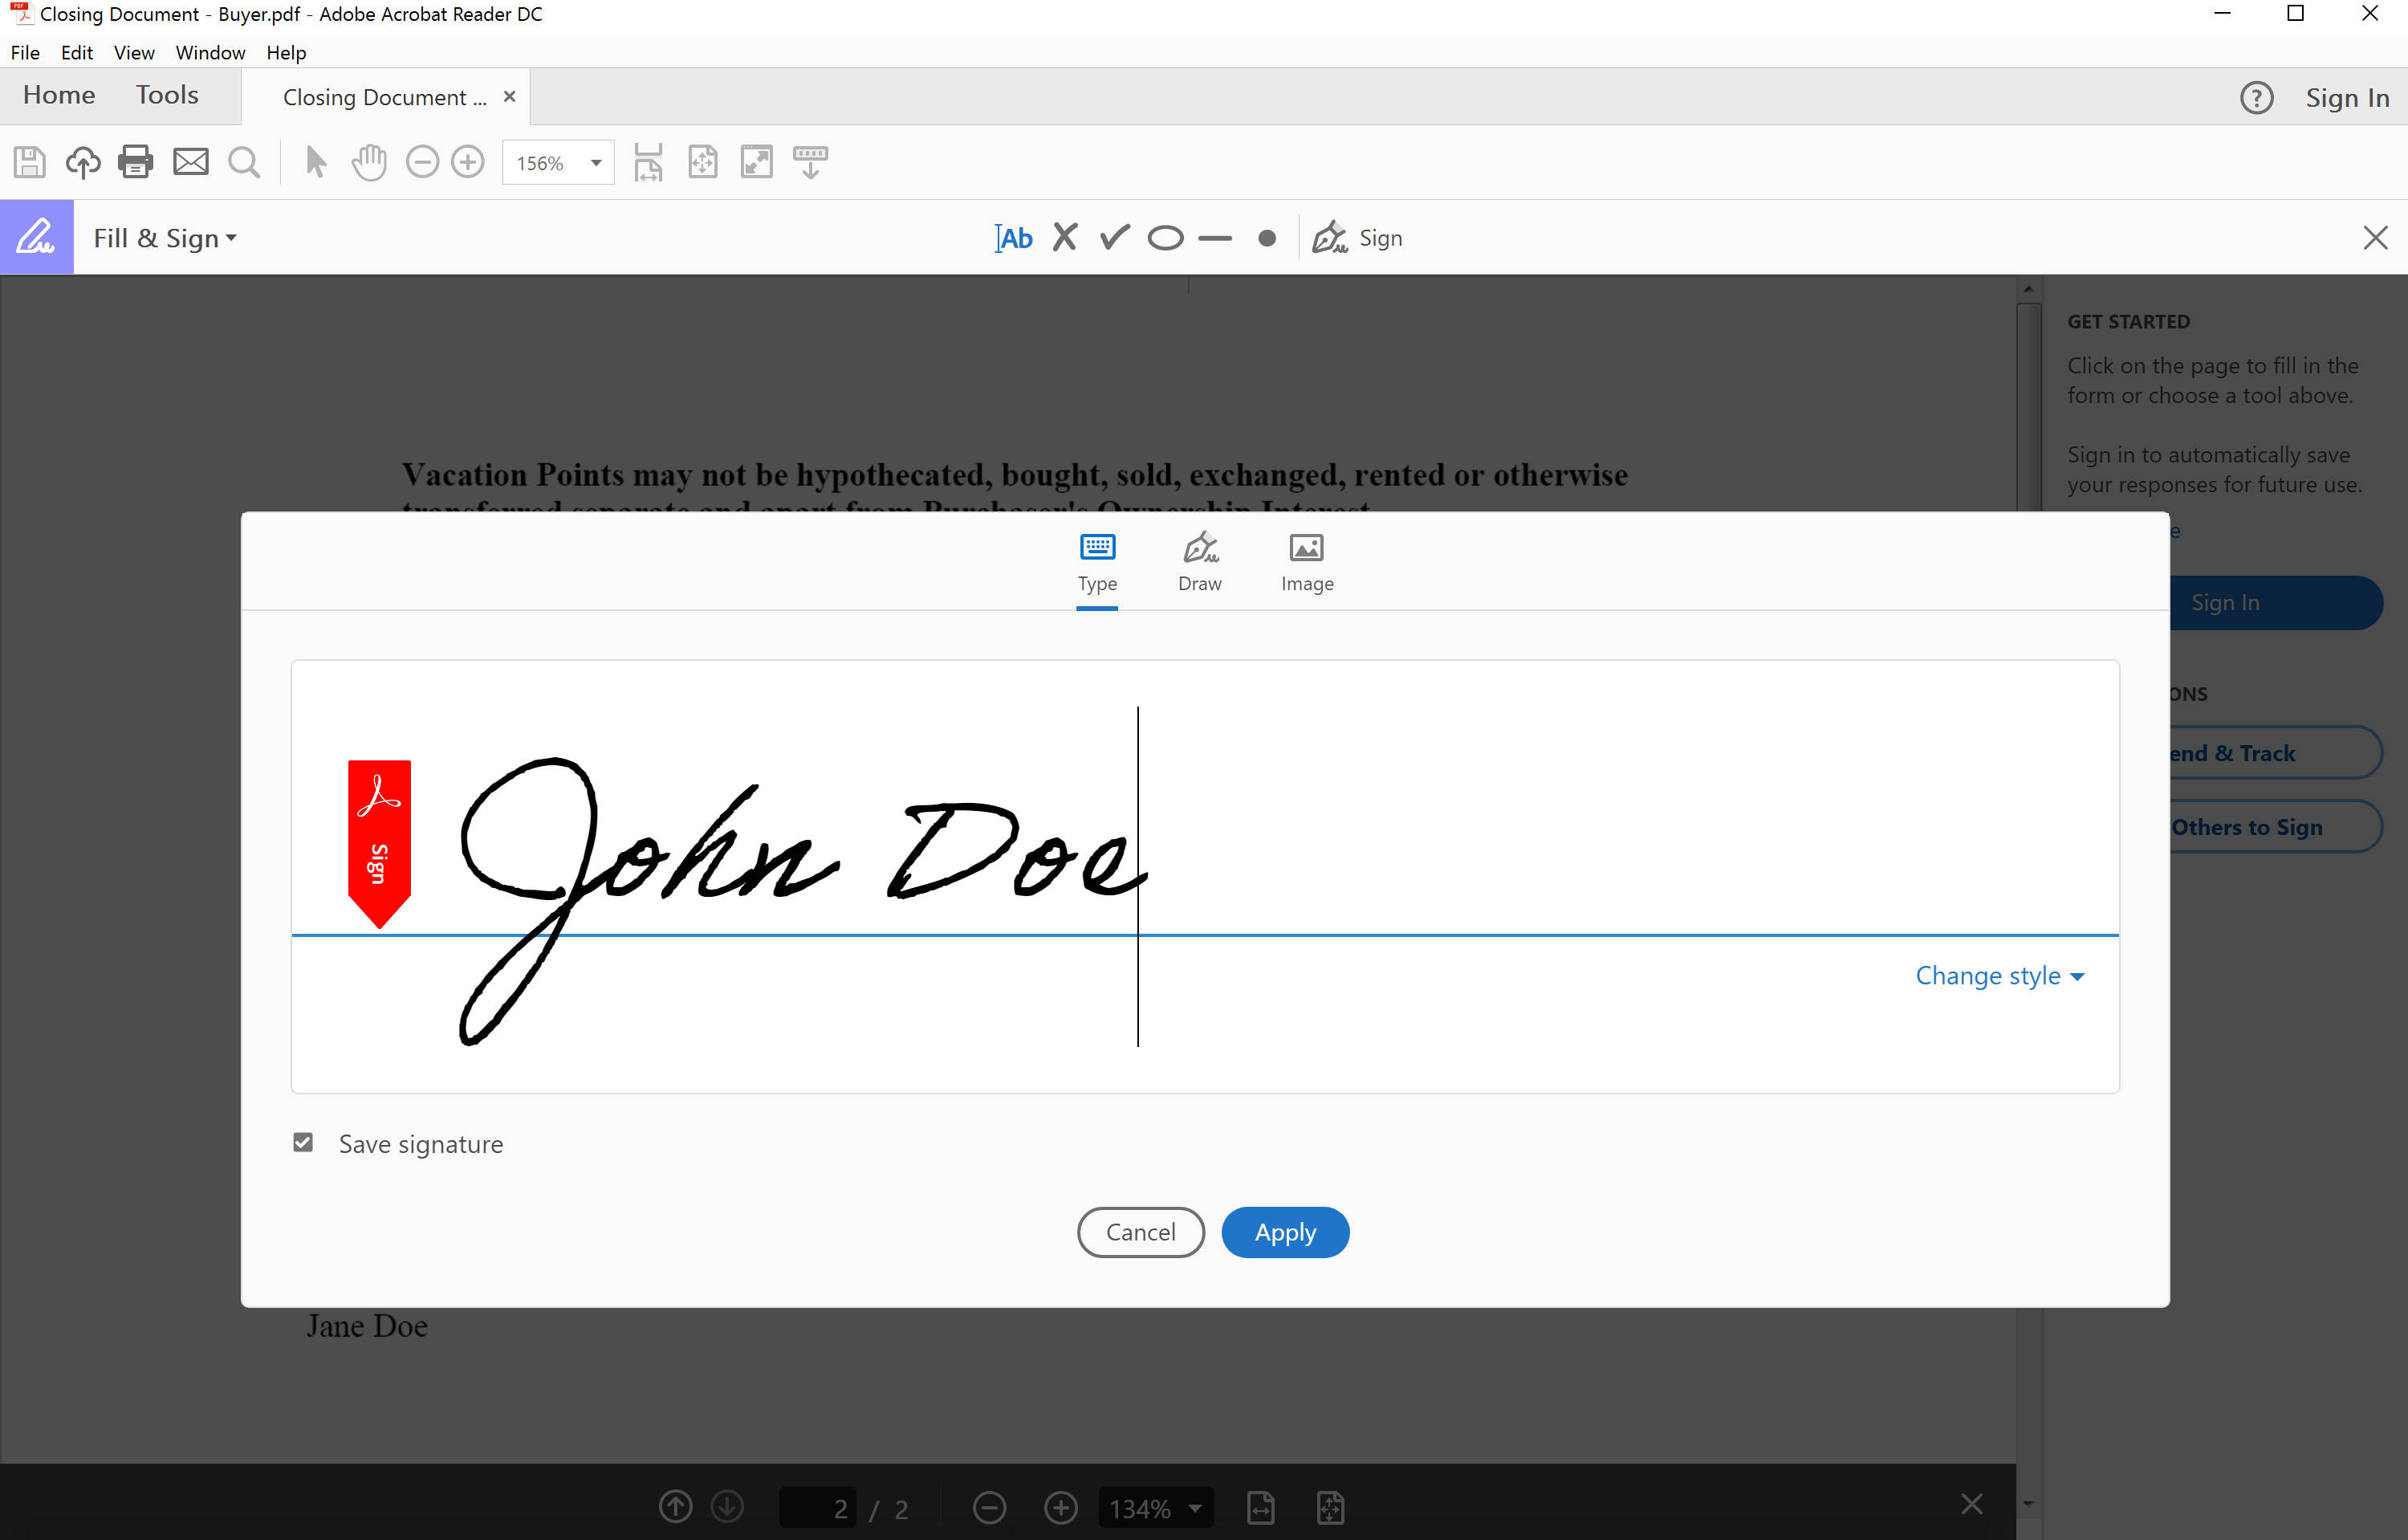
Type, draw, or upload a signature image and click “Apply”. In this guide, we chose to type the signature.
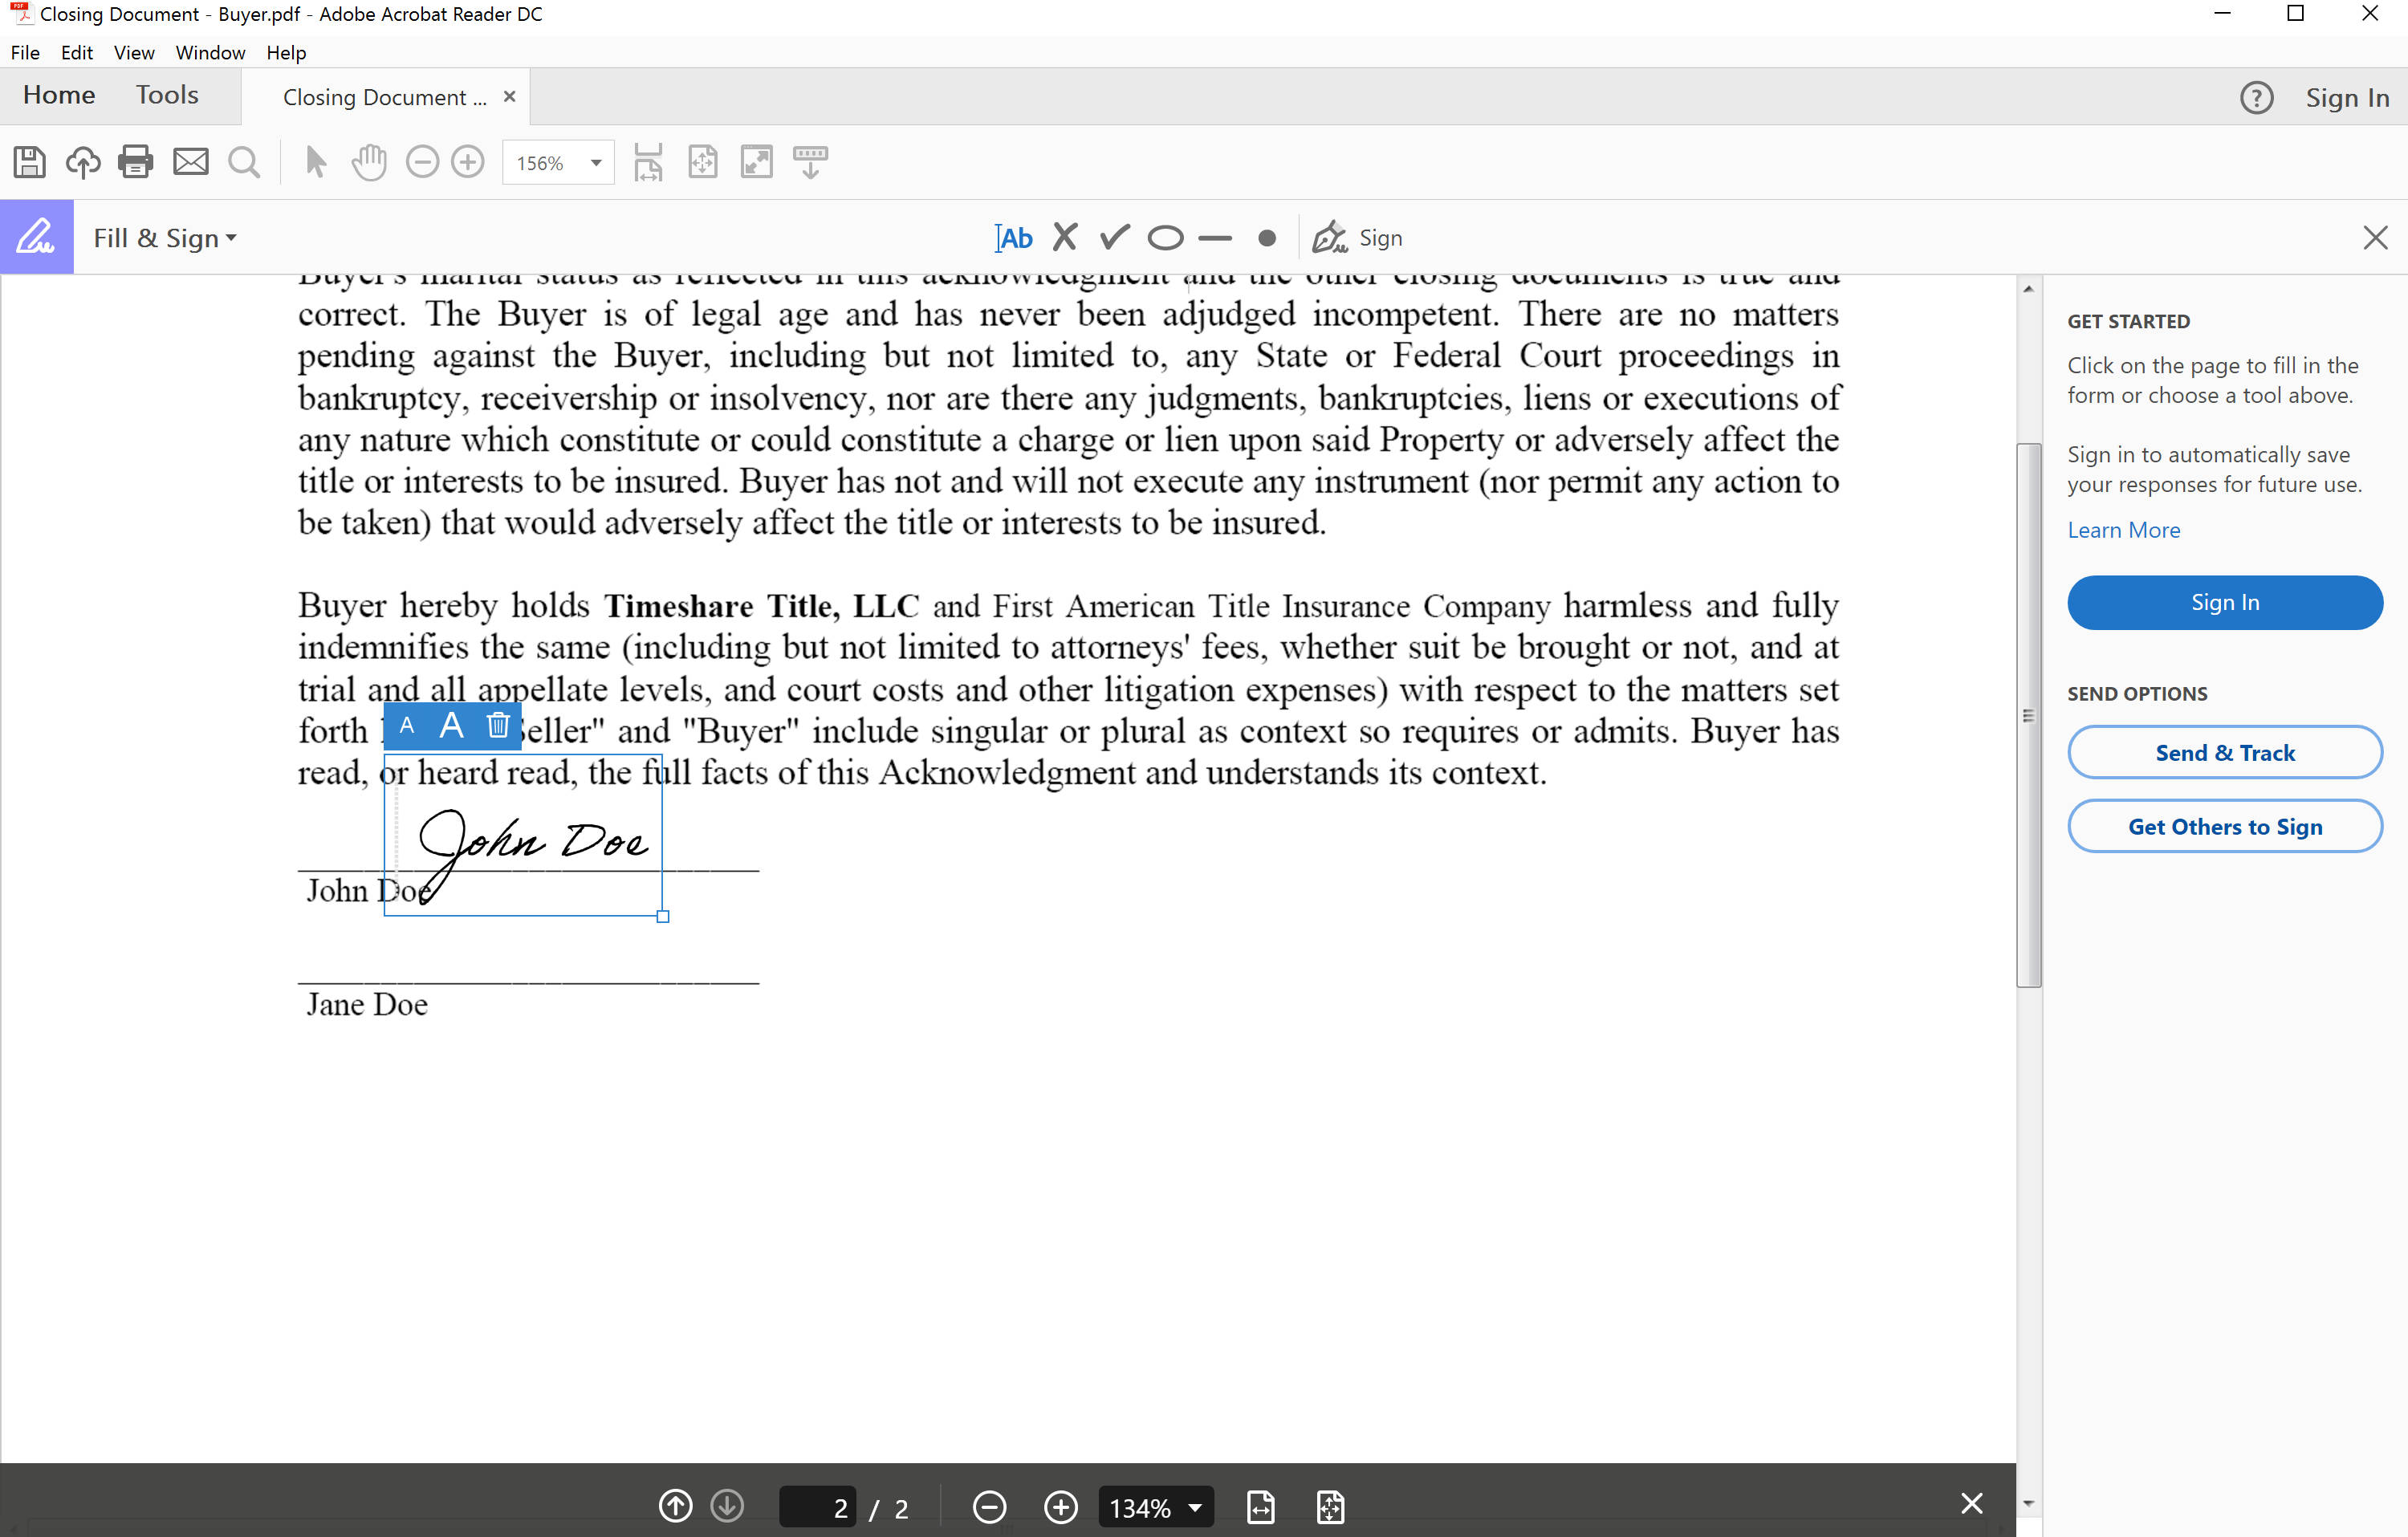
Once you click apply, the window will close and your signature will appear on the screen. To move your signature around, simply click it, drag it, and drop it above your name.
Repeat this for all signatures and documents. To create a duplicate signature, click the “Sign” button and then select your signature, a new signature will appear.
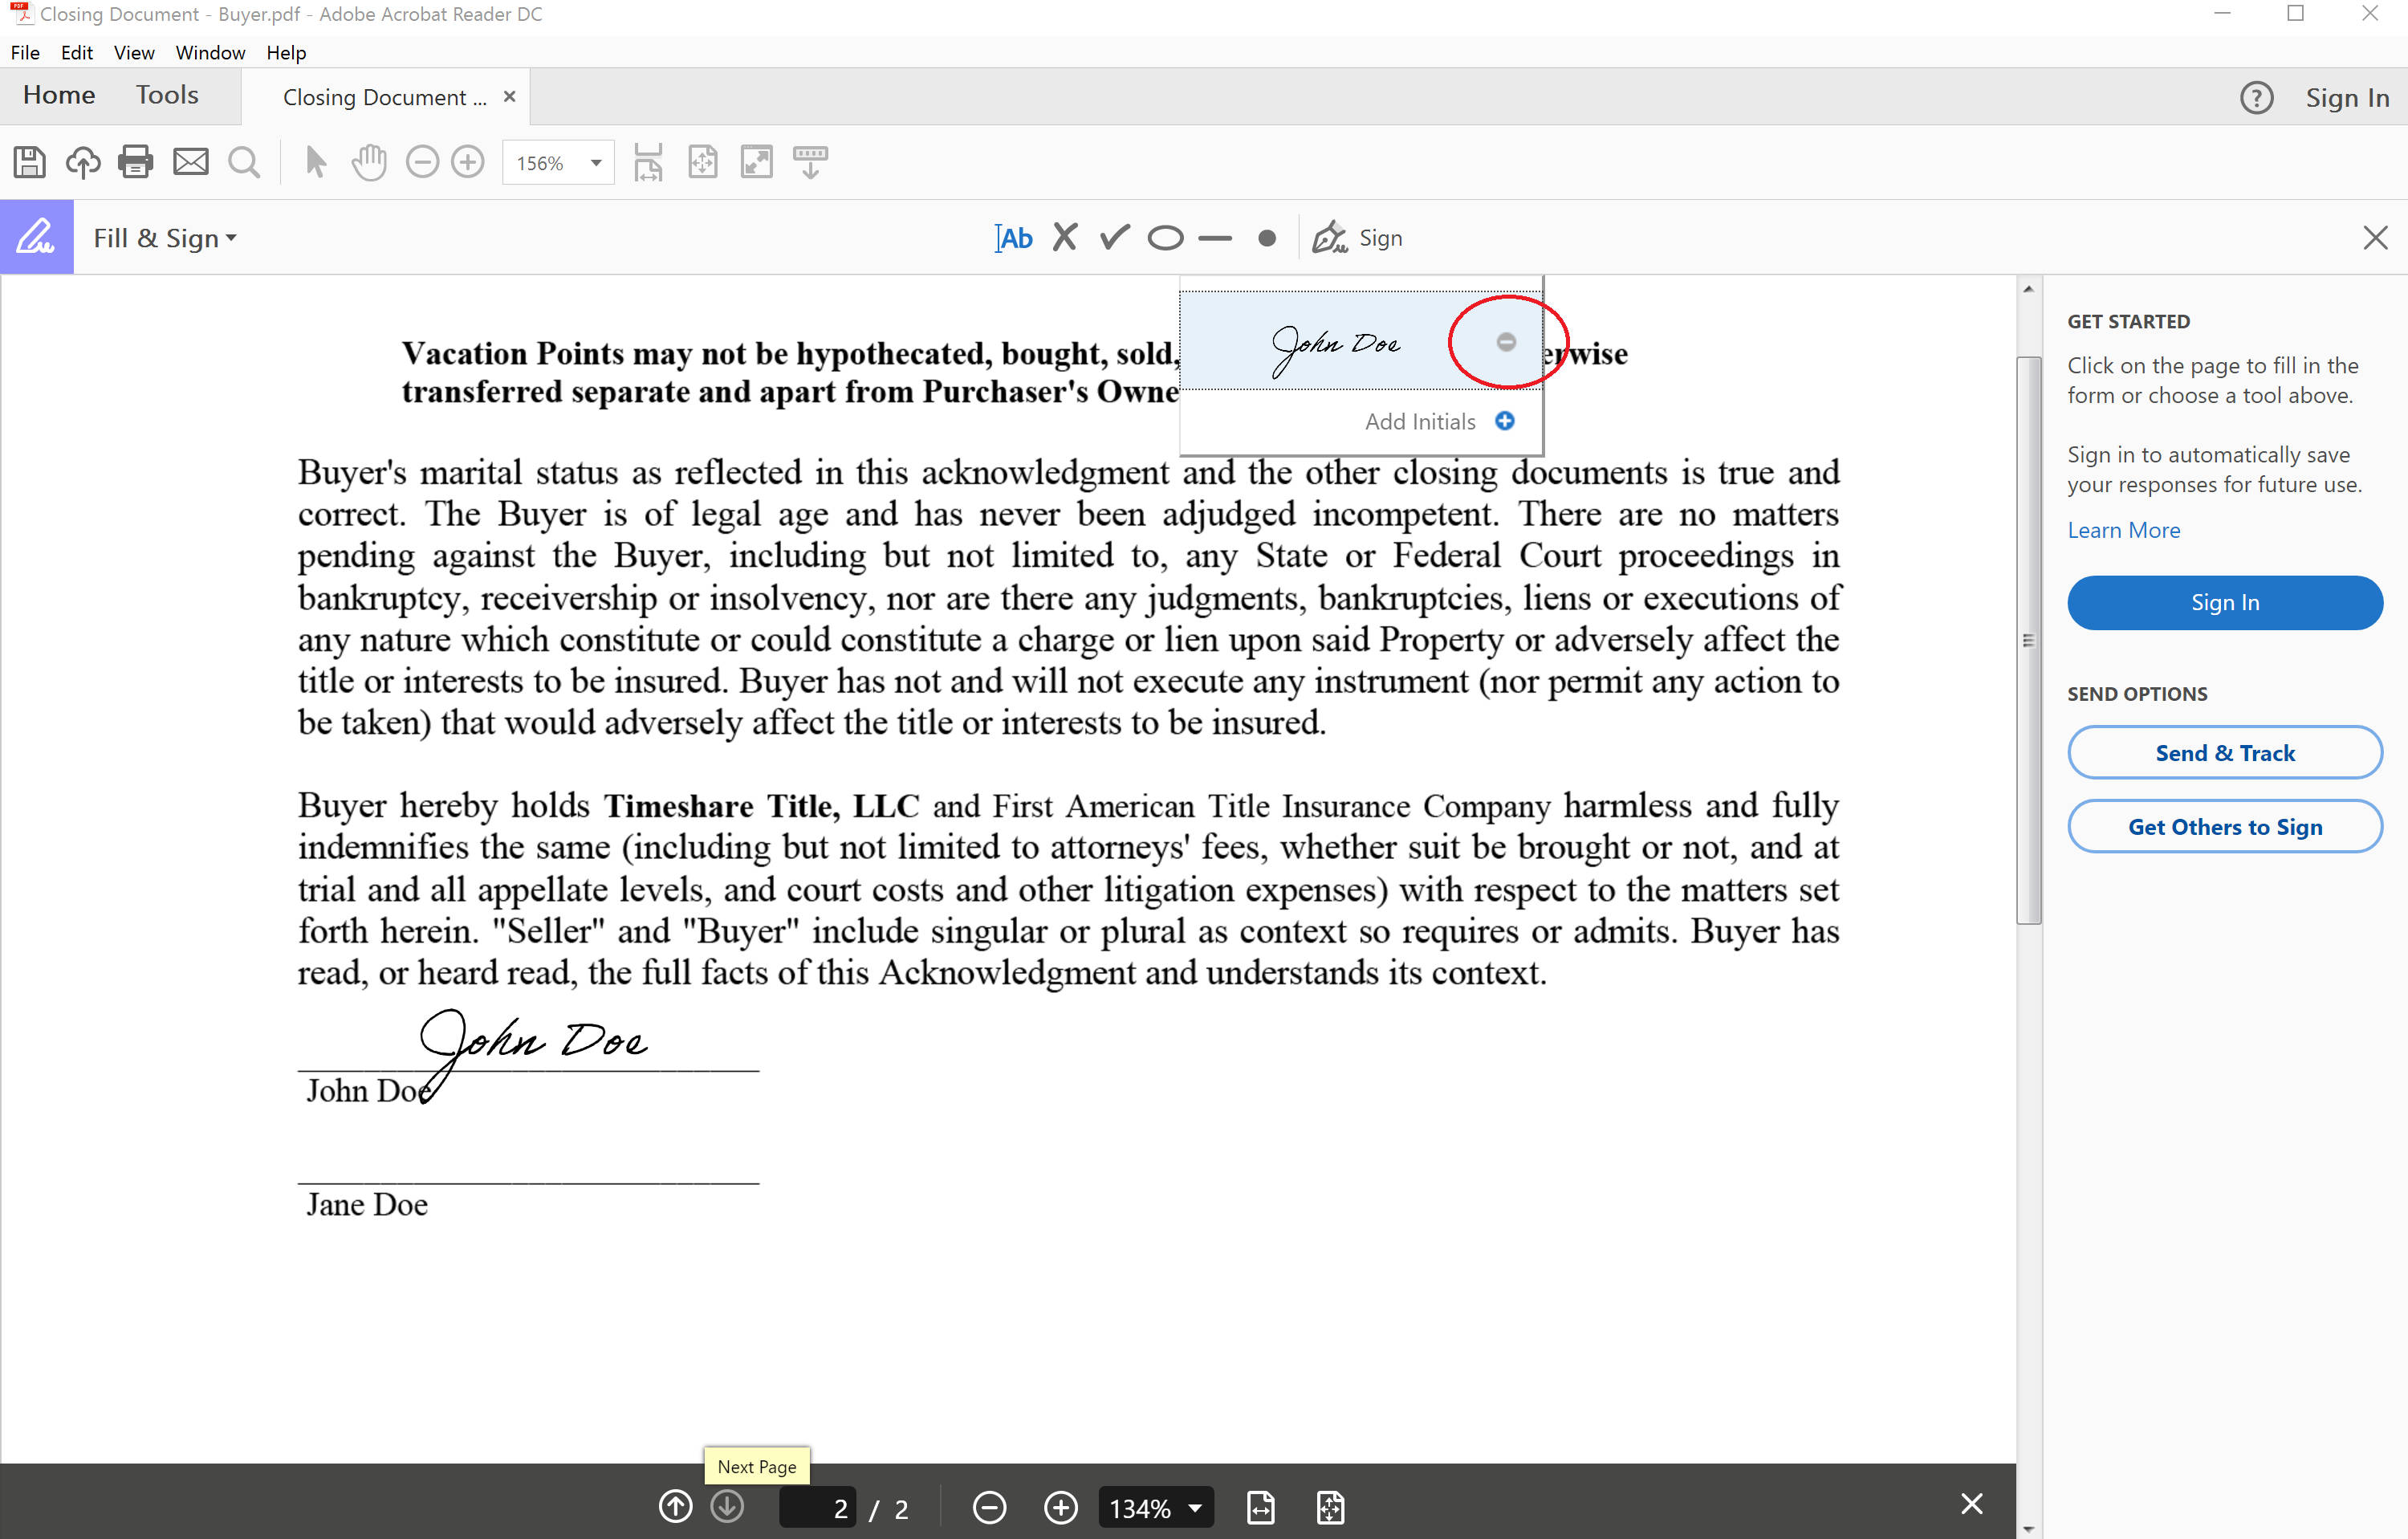
If you have multiple individuals signing documents, you will need to remove the first signature. To do this, click the Sign button, shown above, and click the “-“ icon. This will delete the prior signature. To add the new signature, simply repeat the steps above.
Finally, when you have your document fully signed, save your PDF. Once all documents are signed, email the full package back to closings@gotrustedtitle.com with the email subject line as “[your File number] – All fully executed closing documents”.
Florida Statutes, section 668.50, states that any document requiring a signature, minus exceptions, may be signed electronically. In regards to enforceability of an electronic signature, “[a] record or signature may not be denied legal effect or enforceability solely because the record or signature is in electronic form.” Sec. 668.50 (7) (a), F.S.
Thank you, and I hope this guide was helpful. If you have any questions about electronically signing documents, or your closing in general, feel free to email us at closings@gotrustedtitle.com or call us at 904-321-9108.